Three of a Kind

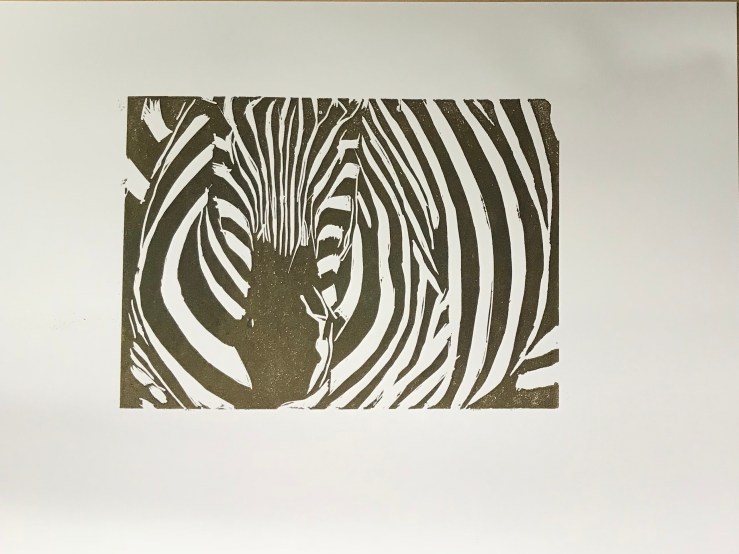
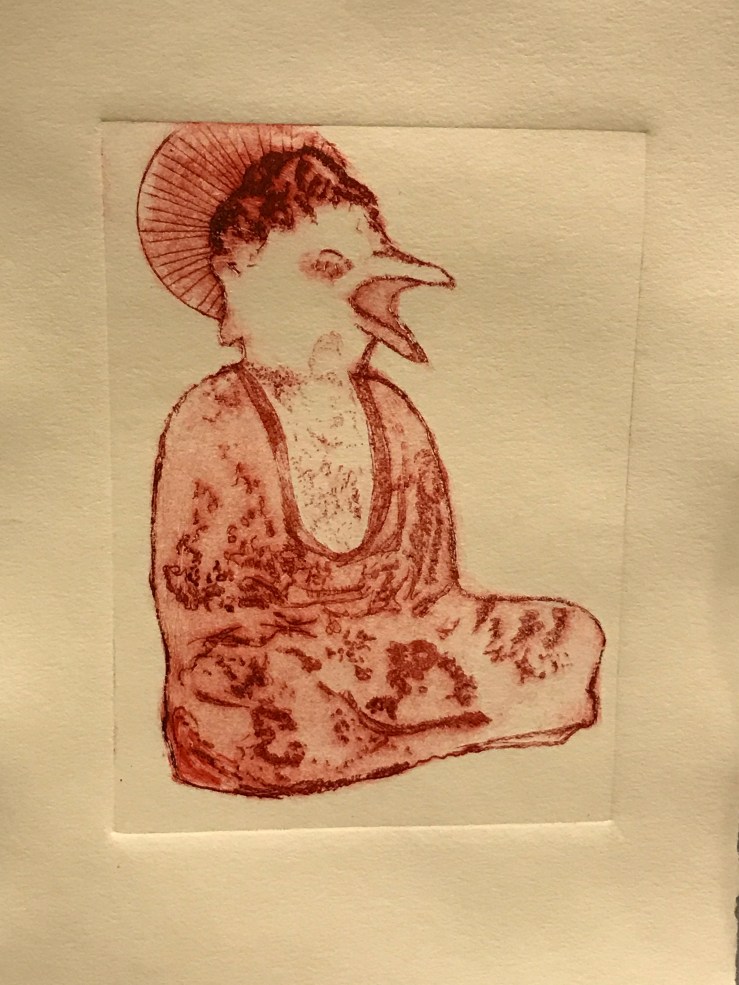
Here’s another set of images of my adventures in printmaking. The latest technique we tackled was paper lithography and it’s pretty fascinating. It almost works like a magic trick.

Things you will need:

  1. a black and white image (photocopy or laser print) on decent paper
  2. gum Arabic
  3. ink
  4. brayer (the width of your image if possible)
  5. sponge
  6. bowl of water (with citric acid added)

First, apply gum Arabic to your work surface. There should be enough to place your image down in it with a small amount around the edges. Press it down with your fingers, then place more gum Arabic on top of the image. Completely coat the image. Really work it in.

Get the sponge wet and squeeze out most of the water. Move the sponge over the paper, removing the excess gum Arabic. A thin coat will remain on top.

Ink your brayer and roll out the color on the image. Start from inside the image so you don’t pull up the paper. Charge the brayer and repeat, changing direction each time you begin the inking process so you don’t build up too much ink in any one spot.

Fill the sponge with water. Squeeze directly over the image and wipe very gently. Ink will wipe away from lighter areas, but will adhere to darker areas.

You can charge the brayer once more and then ink the image a final time.

Then, gently lift the paper from work area and place on the bed of the press. Align and cover with the fancy paper you are printing on, and run through the press.

And remember kids: if you image has text like mine did, you might want to flip the image BEFORE doing any of the above so that the text will read correctly AFTER printing.

Linocut Zebra

So the second week of my printing class introduced me to making a print with a linoleum block. You can see the results here.

The process involved finding an image (remember, I’m not that great with a pencil) and transferring it to a linoleum block, in this case a 5×7 unmounted block of battleship gray linoleum produced by Speedball. Then came the carving. My first time carving something that wasn’t a pumpkin and I can proudly say, I didn’t put out an eye (mine or anyone else’s) or lose a finger. Go me.

In class we picked inks, slightly thicker than what we used for the previous drypoint print, and used a brayer to spread it on the surface of the block. And then it was run through the press with the added pressure of some chipboard.

All in all, I’m enjoying this class quite a bit. There will be more linocuts in my future, and maybe some wood carving if I get really nuts.

IMG_2479

Zebra in Orange

IMG_3488

Zebra in Black

IMG_0088

Zebra in Brown

First Printing

IMG_5996

I like to do things besides write, and I know I’ve posted at least one picture of my sculptures before. I have more, and really intend to add them. But that’s for later.

The above untitled piece is the beginning of my foray into printmaking. I created the original image by combining found sources in Photoshop and then transferring the etching to a plexiglass plate. The first two editions were in black ink, this and a partner piece in red. The entire effort is very process oriented and really requires you to be present. It’s very different from any other endeavor I’ve tried before. And a lot of fun.